How to Turn a Picture Into a Video Without the Jelly Look
Summary
To turn a picture into a video, choose a still with one clear subject and some depth, upload it to an image-to-video model as the first frame, and write a prompt with just two clauses: one camera move and one subject move. Generate about five seconds, iterate on the seed or simplify the prompt, then trim, grade and add sound. Short clips and a single motion keep faces and details stable.
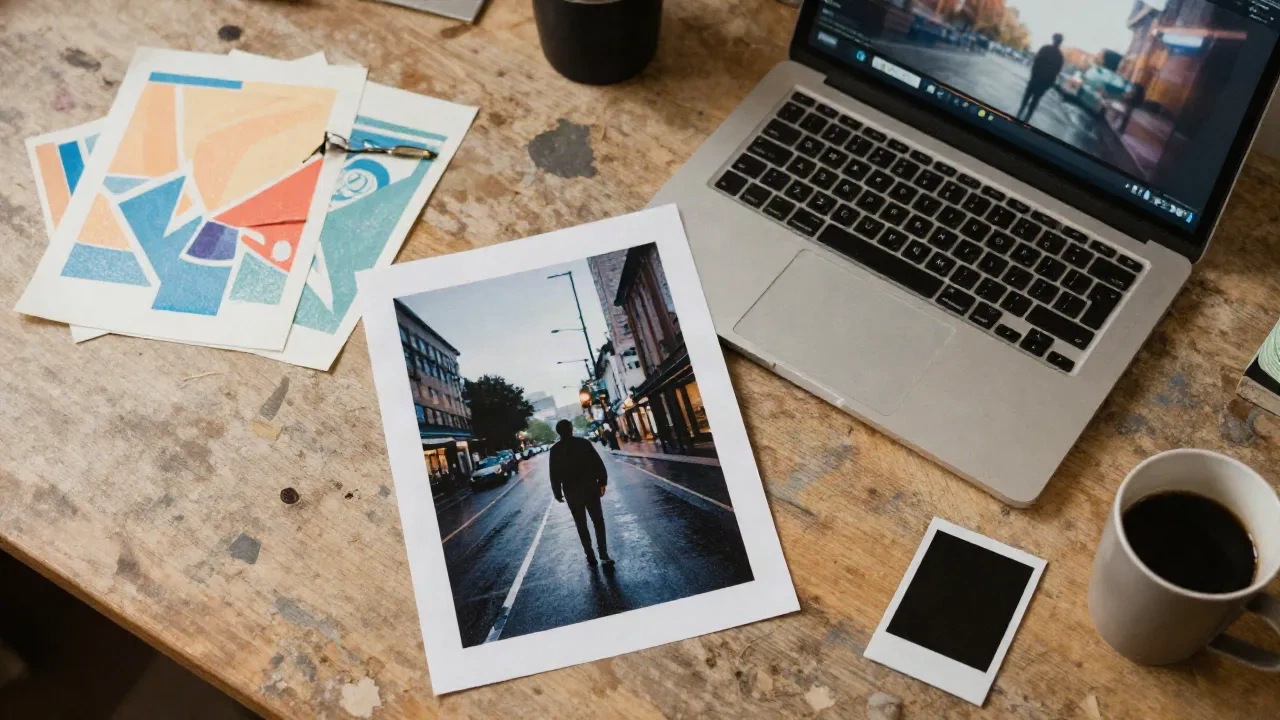
You have a still you love and you want it to move. Here is how to turn a picture into a video in four moves: pick a frame that can survive motion, upload it to an image-to-video model, write one camera move plus one subject move, then generate short and iterate. That is the whole loop. Everything below is what makes it work on the second try instead of the twelfth.
The tools matter less than you think. The frame and the prompt matter more.
Why most picture-to-video attempts look like jelly
You uploaded a gorgeous Flux still, typed "make it cinematic", and got a face that melts at second two. We have all been there. The failures cluster around the same three causes, whatever the model.
First, the frame was already overloaded: six hands, a crowd, text on a sign, a reflection in a window. Second, the prompt asked for three things at once. Third, the clip ran too long for the model to hold the subject together.
None of this is a model problem. It is a brief problem. Steal this mindset: the picture is your first frame, not your finished film.
Pick a still that can actually move
Not every image deserves motion. Before you upload, run a ten second check.
One clear subject, with room around it.
Depth you can read: foreground, middle, background.
Nothing the model has to invent from scratch, like hidden hands or text.
Wide, calm compositions animate best. A figure on a rain-slicked street, a harbour at dawn, a forest path. Tight crops of hands holding objects are the classic trap.
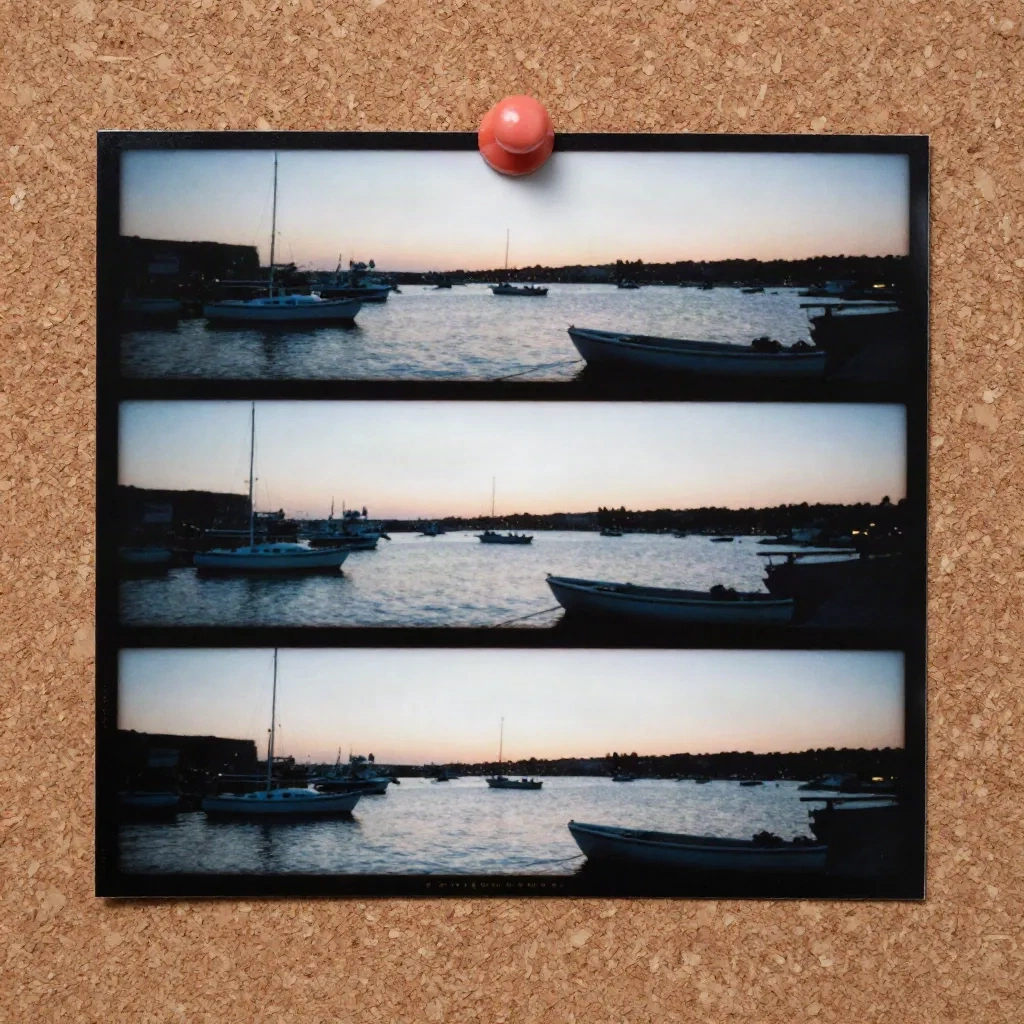
That strip is the mental model. A video is just frames that differ a little. If your still gives the model an obvious small difference to make (boats drifting, light shifting, a coat moving), you are halfway there.
The four-step loop for turning a picture into a video
Here is the workflow we actually use, tool-agnostic.
Upload the still as the first frame. Keep the aspect ratio you plan to publish in. Cropping later wastes pixels.
Choose the model for the job. Human motion and fabric? Kling is the one people reach for. Granular control and a motion brush? Runway. Product and logo consistency? Seedance gets the nod from several roundups. Do not marry one model.
Write the motion, not the picture. The model already sees the image. Describing it again is wasted words.
Generate short, then extend. Five seconds first. If the five seconds hold up, go longer.
Most front-ends now give you a start frame slot and some even take an end frame. Adobe Firefly's image-to-video flow is a clean example: upload a start frame, optionally add an end frame, pick camera motion, then write the prompt. Same logic everywhere else.
If you do not want to pick a model blind, an aggregator is the lazy-smart route. Higgsfield puts several frontier video and image models behind one login, which is handy when you want to run the same still through two engines and compare.
Write the prompt: one camera move, one subject move
This is the section that saves you credits. A good image-to-video prompt has two clauses, and only two.
Camera: what the virtual camera does. Subject: what moves inside the frame.
"Slow dolly-in. Steam rises from the coffee, the figure turns their head slightly." That is a complete brief.
The mistake is stacking. A 2026 prompting guide from SurePrompts puts it bluntly: name one or two camera behaviors per clip, because asking for a dolly, a rack focus, a pan and a tilt at once makes the model average them into a muddled drift. We agree, and we would go further. Pick one.
Here is the vocabulary that works across models:
Push in / dolly in: intimacy, emphasis.
Pull out: reveal, isolation.
Orbit: hero shot for a product or a character.
Tilt up or down: scale, a reveal along the vertical.
Static camera: when the subject motion is the story.
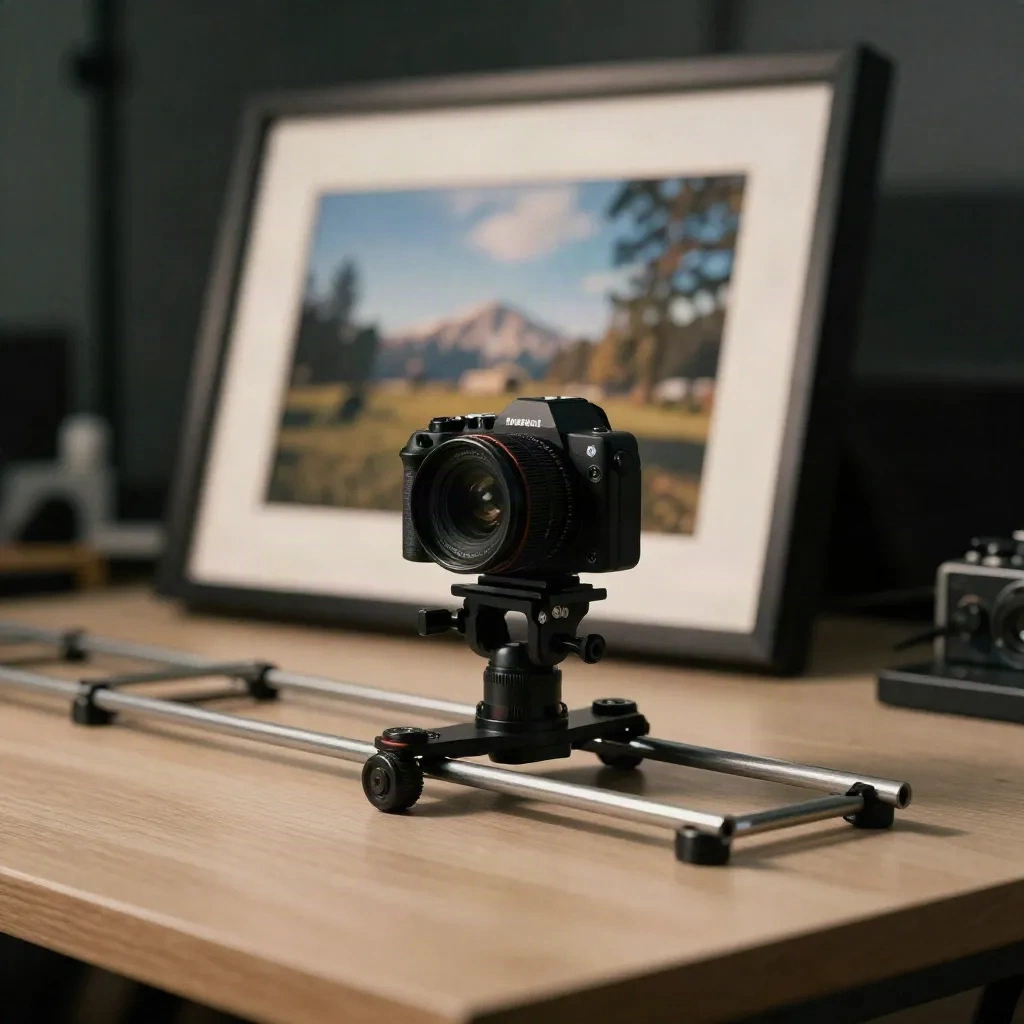
Motivated motion beats decorative motion. Ask yourself why the camera moves. To follow action, to reveal something off-screen, to push toward an emotion. If the answer is "because it looks cool", leave it static and let the clouds do the work.
Drop it into Kling or whatever engine you use, and watch what the first two seconds do. They tell you almost everything.
The prompt patterns we keep copying
Three structures that survive across engines. Remix si tu veux, mais commence par ça.
The quiet living photo. "Static camera. Wind moves the grass and the hair, light flickers slightly. Everything else stays still." Great for portraits and landscapes. Low risk, high payoff.
The reveal. "Slow pull-out from the subject's face to show the empty room behind. Soft handheld drift." Good when your still is tight and you want context.
The orbit. "Smooth 360 degree orbit at constant radius around the object, consistent framing, no zoom." Use it for products and sculptural subjects, and expect to retry.
Notice what is missing: adjectives like "epic", "stunning", "masterpiece". They do nothing. Verbs do the work.
Kling earns its reputation on exactly this: believable camera motion, plus physics on fabric, hair and liquids. If your still has a coat, a dress or a cup of tea in it, test Kling first.
Keep the face, the logo and the palette intact
Consistency is where picture-to-video breaks hearts. Three habits help.
Say what must not change. "Face and outfit remain stable, no morphing, background static." It reads like a legal disclaimer, but it works more often than not.
Shorten the clip. Drift grows with duration. Five seconds that hold beat ten seconds that wobble. You can stitch.
Use a second still as the end frame when your tool supports it. You are no longer asking the model to guess where the shot lands. You are telling it, and it only has to connect the dots.
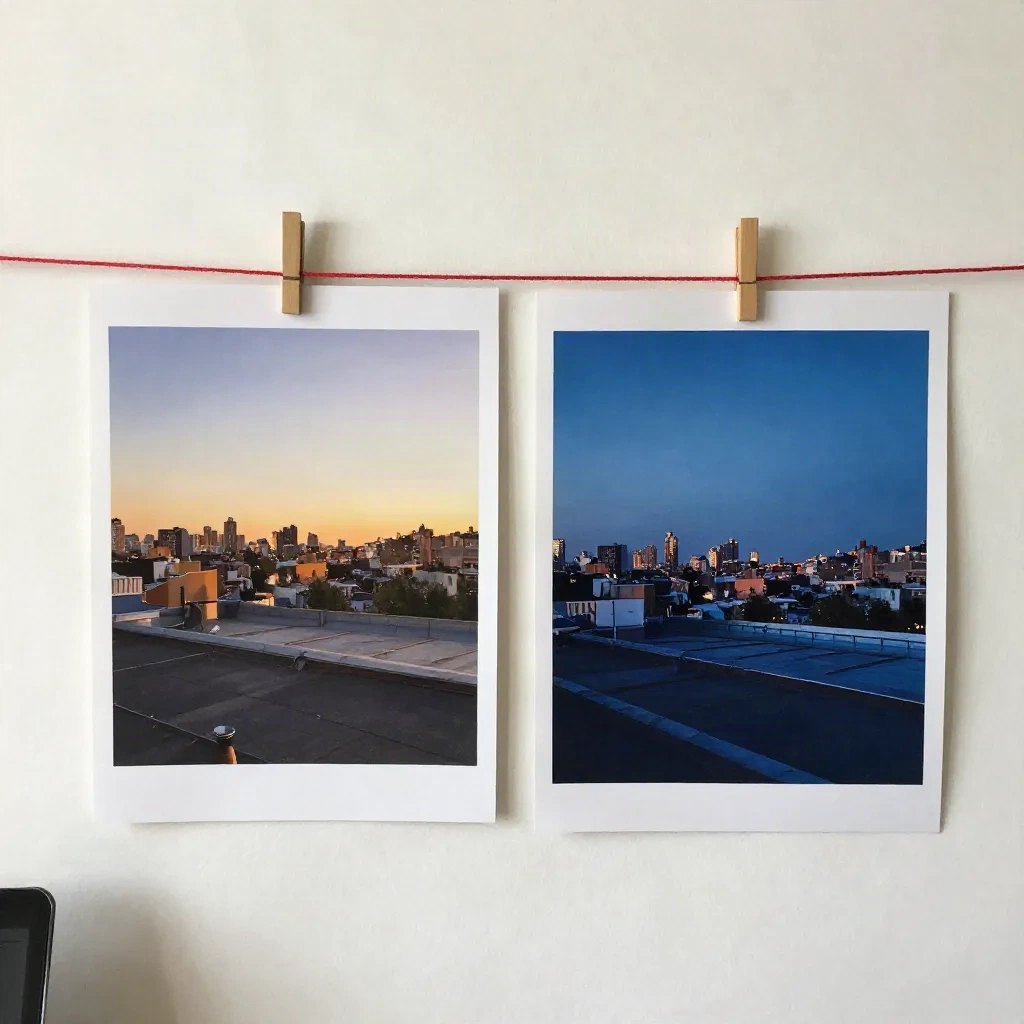
That rooftop pair is a perfect start-and-end setup. Golden hour into blue hour, same framing. Generate the second still with the same seed or reference, and the interpolation does something genuinely lovely instead of something uncanny.
Skip these, they waste your credits
Opinion time. A few popular tips that rarely pay off in practice.
Skip the one-click "animate" toggle for anything that matters. It is fine for a meme and a gamble for a client deliverable. The custom prompt route costs you thirty seconds and saves you three regenerations.
Skip long clips on the first pass. Every extra second multiplies the chance of a face drifting.
Skip prompts that re-describe the image. The model has the picture. Spend your words on motion.
Skip chasing 4K before the motion works. Upscale the winner, never the experiment.
What to do when the motion is almost right
Almost right is the normal state of AI video. Fix it in order of cheapness.
Change the seed or hit regenerate. Free fixes first.
Cut the prompt in half. Fewer instructions, fewer conflicts.
Swap the camera move for "static camera" and move only the subject.
Try another model with the same still and the same short prompt.
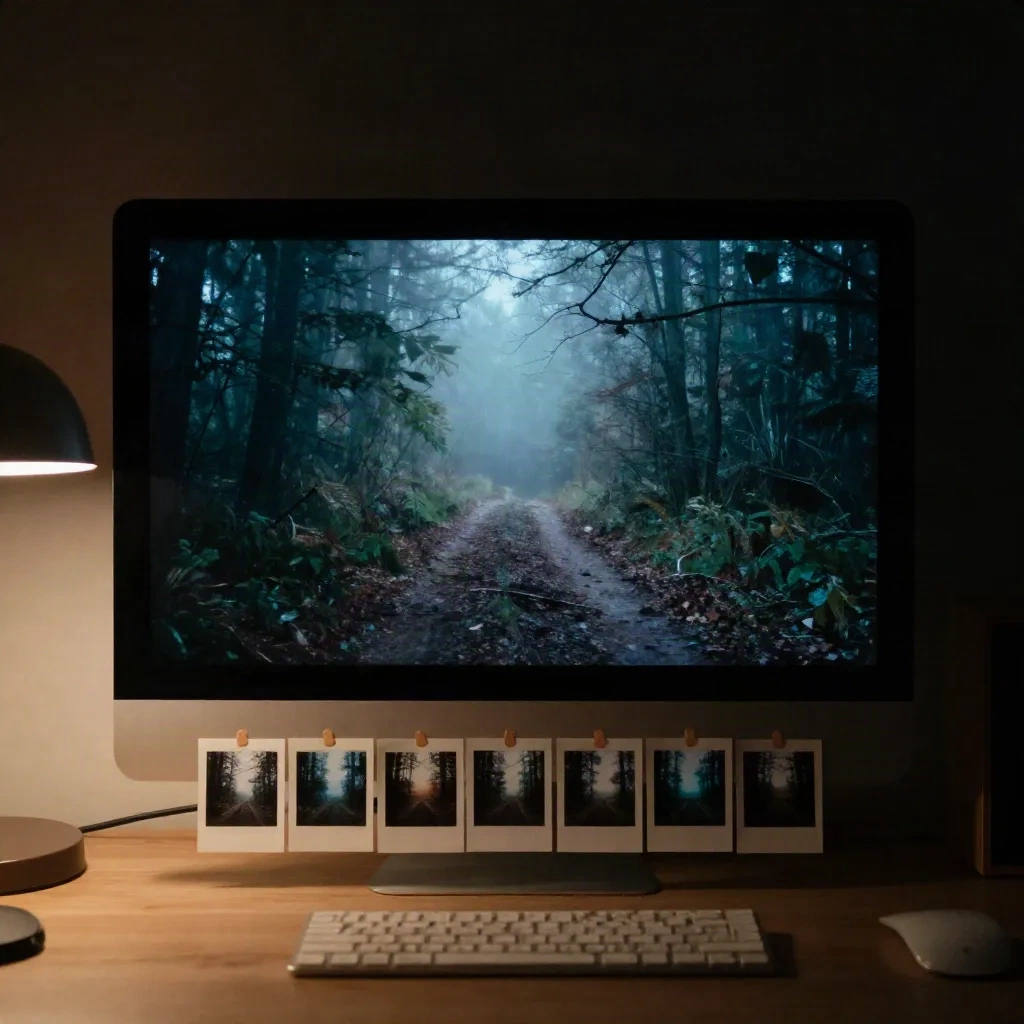
Keep your keepers. A shelf of paused frames and favourite clips becomes your own moodboard, the kind of Are.na channel you actually return to. Over time you learn which stills move well and which just sit there glaring at you.
Finishing: trim, grade, add sound
A raw generation is a clip, not a piece. Trim the first and last half second, where the model tends to wobble. Add a light grade so clips from different models feel related. Add sound, because silence reads as AI faster than any artifact does.
CapCut handles the trim, captions and sound layer without making you open a heavyweight editor. Good enough for socials, and free to start.
If you are building a longer piece from several stills, say a moodboard reel with scenes that follow each other, a script-to-video tool can do the stitching for you.
TopView takes a URL or a script and builds a multi-scene video. Different job than a single animated still, but handy when your picture is one of many assets and you need a quick assembly pass.
Match the still to the format before you upload
Where the video will live decides how the still should be framed, so settle this first.
A vertical 9:16 clip for Reels or Shorts wants a subject centered with headroom, because platform UI covers the edges. A 16:9 clip for a site hero wants breathing room left or right so a slow pan has somewhere to go. Square sits in between and forgives almost anything.
If your source image is the wrong shape, regenerate or outpaint it before the video step. Letting the video model fill missing edges on its own is how you end up with a stretched sky and a warped horizon.
Resolution works the same way. A crisp 1080p still beats a blurry 4K upscale, because the model reads detail, not pixel count. Clean the still first, animate second.
AI-generated stills versus real photos
Both work, and they fail differently.
AI stills from Midjourney or Flux are friendly to animation because they are already clean, centered and well lit. Their weak spot is hidden nonsense: a seventh finger, a garbled sign. Motion makes those flaws impossible to ignore, so zoom in at 200 percent and fix the still before you animate it.
Real photos carry honest depth and texture, but they come with clutter. Busy backgrounds, harsh shadows and compression noise all confuse the model. Crop tight on one subject, even out the exposure, and the result usually lands.
For old family prints and scanned film, keep the prompt gentler than you think. A slow push-in and a hint of breathing is plenty. Anything bolder tends to wake up a face you did not want awake.
Should you animate this one or leave it still?
Last honest question. Some pictures are better as pictures. If the still already says everything, a wobbling pan will only shave something off it.
Animate when motion adds information: weather, a reveal, a gesture, a product turn. Leave it alone when the stillness is the point.
Go pick one image from your last Midjourney or Flux session, write one camera clause and one subject clause, generate five seconds. Then tell us what the first two seconds did. That is the whole test.