How to Remove Watermark from Image: What Actually Works
Summary
Removing a watermark from an image comes down to three methods: free AI inpainting tools like WatermarkRemover.io and OpenArt, Photoshop's Generative Fill for complex cases, and manual clone-stamping for tiled patterns. Free AI tools handle corner logos and semi-transparent text in seconds. Photoshop wins when the background is detailed or the watermark covers more than 25% of the frame. Know your watermark type before you pick your tool.
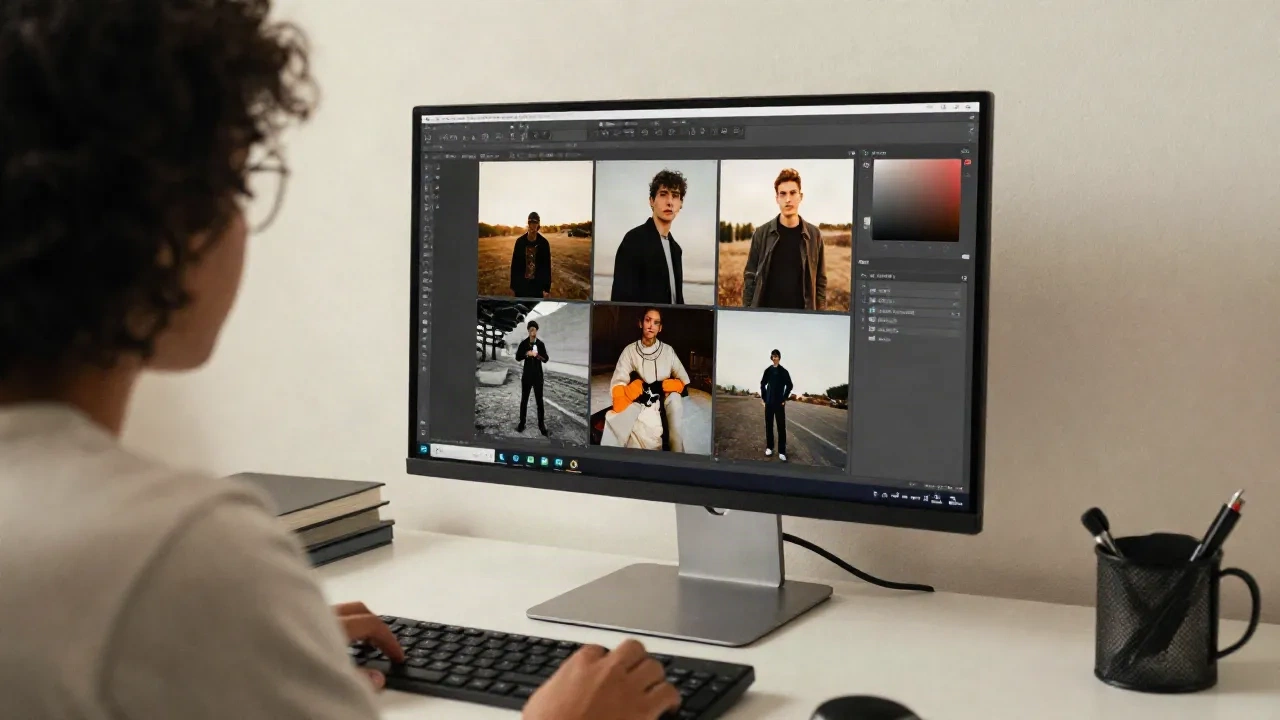
You found the reference shot you needed: perfect composition, right era, exact vibe. But there's a watermark sitting right across the middle. How to remove watermark from image files without killing the texture underneath comes down to three approaches -- free AI inpainting tools that handle simple overlays in seconds, Photoshop's Generative Fill for complex recoveries, and manual clone-stamping when nothing else gets close. What you reach for depends entirely on what you're dealing with. Here's the full breakdown.
Not All Watermarks Are the Same
Before you open any tool, identify what you're up against. The approach changes significantly depending on watermark type, and spending three minutes on the wrong tool costs you more than identifying the right one upfront.
Corner logos -- A small opaque logo in one corner. Easiest case. Any AI tool handles this in one click. The background behind a corner logo is usually simple enough that inpainting fills it convincingly, with no visible seam at 100% zoom.
Semi-transparent text overlays -- A stock photo style overlay that fades across the frame. Medium difficulty. AI inpainting works well when the text is light and the background has consistent texture. It gets messier when the overlay covers a face or a complex detail you actually need to preserve.
Tiled or repeating patterns -- The whole frame is covered in a repeated watermark tile. Hardest case by far. No AI tool resolves this reliably in one pass. You're looking at Photoshop's Generative Fill or a lot of manual sectional work.
Date stamps and simple stamps -- Almost universally handled by AI tools in one click. Flat color on a simple area, go with any free option and move on.
Colored watermarks -- Easier for AI to separate from image content when the watermark color contrasts sharply with the background. If the watermark tone blends into the image, expect artifacts at the edges. Manual correction usually takes under a minute.
Know which type you're dealing with before you pick your tool. Most time lost on watermark removal comes from using a corner-logo tool on a tiled pattern.
The Free AI Tools That Actually Get It Done
These are the options worth your time for everyday watermark removal. We ran all of them on the same set of test images.
WatermarkRemover.io -- Automatic detection, no manual selection needed. Best for standard stock photo patterns where the tool already recognizes the structure. Upload, wait three seconds, download. Quality stays intact on most JPEGs and PNGs. It loses confidence on unusual watermark shapes the algorithm hasn't seen before.
Cleanup.pictures -- Upload, brush over the watermark manually, let the AI fill. More control than WatermarkRemover.io. Better when auto-detection misses an unusual watermark shape or when you only need to remove part of an overlay. Free tier limits file size but handles most reference-sized images fine.
EzRemove -- Batch mode on the free tier, up to five images per day. No compression, no blur artifacts on most files. You can switch between AI auto-detection and manual brushing. Good for when you have several reference images to clean up in one session.
Unwatermark.ai -- Handles full-screen watermarks and large overlays better than most free tools. Still not perfect on the hardest tiled cases, but it's the strongest free option when the watermark covers a large portion of the frame rather than just a corner.

For anything that's going into Flux, Midjourney or Nano Banana as a style reference, a clean image matters more than you'd think. A semi-transparent watermark over the tones you're trying to extract can confuse the model's style reading -- especially when you're trying to isolate a specific color grading or film texture.
OpenArt has inpainting built directly into its interface, so if you're already using it to generate or reference images, you can run watermark removal on a reference without switching apps. Less context-switching during a moodboarding session.
When Photoshop Actually Beats Free AI
Free AI tools win on speed. Photoshop wins on control -- and on the hard cases.
Generative Fill (available since 2024, significantly improved through 2025 updates) is genuinely different from what Content-Aware Fill was doing a few years ago. For a watermark that covers a face or a highly-detailed background texture, Generative Fill can reconstruct what's underneath with a level of coherence that the free tools can't match. You describe what was there in plain language, and it builds it back with consistency across the whole selection.
Content-Aware Fill still has its place: fast, deterministic, no AI interpretation drift. For simple textures (concrete, sky, wood grain), it's faster than waiting for Generative Fill to run.
When to actually open Photoshop instead of a free tool:
The watermark covers more than 25% of the frame
The background has complex texture -- fabric, foliage, architectural detail, skin
You need the result to look completely clean, not just clean enough for a reference
You're already paying for Creative Cloud
If you're not on Creative Cloud and just need a clean reference image, the free AI tools are faster and good enough for about 80% of real-world cases. Don't pay for Photoshop just for this.

Skywork brings inpainting and cleanup into the same interface as its generation and design tools. If you're doing a lot of reference cleaning as part of a moodboarding or concept session, having it in one place cuts down on the overhead.
The Tiled Pattern Problem
Repeating tile watermarks are the one case where no quick fix exists.
The issue: AI inpainting fills one patch at a time, using surrounding pixels as context. When every surrounding pixel is also covered by the tile, the context is wrong and the fill smears or produces inconsistent reconstruction. You can see it most clearly in fine texture areas -- the AI tries to invent content it can't see.
What actually works on tiled patterns:
Generative Fill with sectional passes in Photoshop -- Select 10-20% of the image at a time, describe the underlying content, let it fill. Iterate section by section. Takes 15-20 minutes on a complex image but produces a usable result. This is the approach for images where the underlying content is important.
VisualGPT's Watermark Remover -- Built specifically for full-screen repeating patterns. It detects the repeating structure and applies a different reconstruction algorithm than standard inpainting tools. Not perfect, but meaningfully better than tools designed for corner logos. Worth trying before you go into Photoshop.
Manual clone stamp -- For critical references where every pixel counts. Slow, but you have full control over what goes back under each tile section. The only approach that lets you match exact surrounding detail.
The honest answer: if the tile covers the whole image and the content underneath has important detail, there is no fast solution. If the image is worth 20 minutes of your time, it's probably worth the $5 license.
Why Clean References Change Your AI Output
This is the part that's specific to how you're probably using these images.
When you feed a watermarked reference into Midjourney or Flux as a style reference -- whether via image prompts, --sref, or direct upload -- the model reads the whole image including the watermark overlay. On a semi-transparent overlay, that layer of text introduces an artificial film over the tones. The model registers it as a stylistic choice and applies something similar to the output.
The effect is subtle but it compounds: reference images you've collected over a year with various watermarks will all carry slightly different tonal shifts in their AI outputs. Your color grading extractions become inconsistent across your prompt library.
Clean references produce cleaner style extractions. That's the practical argument for spending two minutes on removal rather than dropping a watermarked preview directly into a style prompt.
For building a reference library that you'll use repeatedly, it's worth cleaning each image once and storing the clean version. WatermarkRemover.io takes under ten seconds per image for standard cases -- the overhead is low.
What You Can and Can't Legally Remove
Short answer: if you own the image or have a valid license for it, removing the watermark is fine. Stripping a watermark from a stock photo to avoid paying the license fee is copyright infringement.
In practice:
Your own photos -- no issue
AI-generated images you created -- no issue
Licensed stock photos after purchase -- most licenses allow watermark removal once you've paid
Preview versions of stock photos without purchase -- not legal to strip and use, even for internal references
Third-party images from other creators -- depends on license, but as a rule: ask first
The economic case: most stock licenses on standard platforms are $1-15 per image. If you're spending 20 minutes trying to remove a watermark from a preview, the math doesn't hold up. Buy the license, get the clean full-resolution file.
One gray area: building an internal-only moodboard with watermarked preview images typically falls under fair use in most jurisdictions. The line is internal reference use versus publishing or monetizing the content. When in doubt, the license is cheaper than the risk.
Your 3-Step Workflow (Steal This)
Here's the decision tree for every watermark removal situation:
Step 1 -- Identify the type Corner logo or simple stamp? Free AI tool, ten seconds. Semi-transparent overlay? Cleanup.pictures with manual brush, two minutes. Tiled full-frame pattern? Photoshop Generative Fill or VisualGPT. Complex background with critical detail? Photoshop, budget 15 minutes.
Step 2 -- Run the removal, check the edges After any AI removal, zoom to 100% and look at the edges of where the watermark was. Artifacts show up in corners and transitions first. A quick brush pass with clone stamp fixes 90% of edge artifacts in under a minute.
Step 3 -- Export clean Export at original resolution. Don't apply compression until you've confirmed the removal is clean -- JPEG artifacts get worse at intersections where the inpainted area meets the original image. WebP at 90% quality keeps the file light without compressing away the texture detail you kept.
If your reference is for a video project and you need to clean watermarks from stills pulled from footage, CapCut handles both image and video watermark removal in the same interface -- useful when you're sourcing references from clips.
Test the free tools on a throwaway image first. You'll know in three minutes which approach your file actually needs. Most watermarks take under a minute once you've matched the method to the watermark type.